Handmade Holidays

Hop Badge

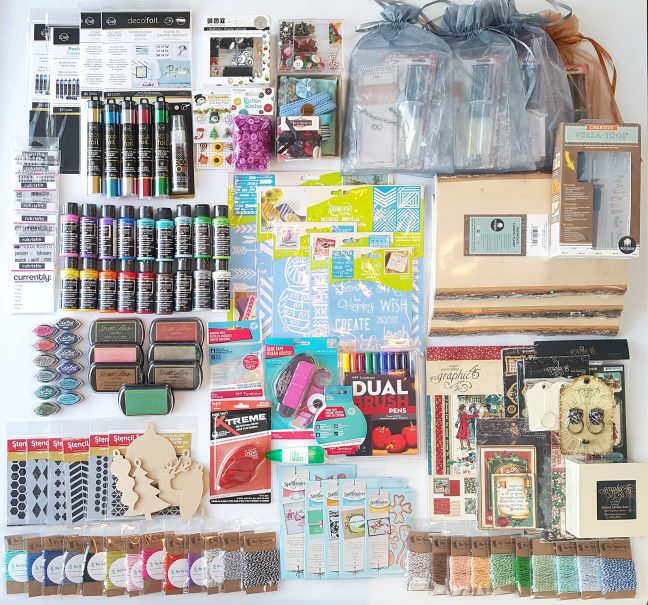
Welcome welcome welcome to the 5th Annual Handmade Holidays Blog Hop! Every year for the last 5 years we have hosted a blog hop all about handmade gifts that you can make to create something meaningful this holiday season and beyond. We’re really excited to be teaming up with your favorite bloggers and manufacturers to bring over 80 ideas to you this weekend. Together, we’re also are giving away a crafter’s prize pack worth over $600!

Handmade-Holidays-2015-Prize-Pack-1600-wide

That’s a ton of swag, right?! So excited to be joining this hop again this year.
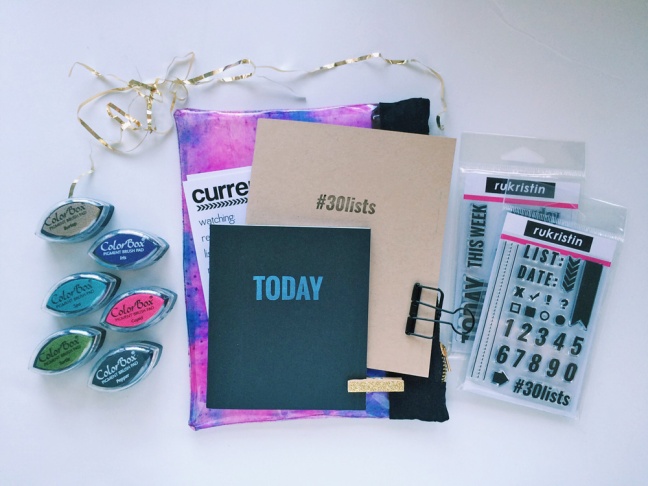
My gift idea is one that will hopefully inspire creativity. I’ve fallen into the listing community lately and am so in love with all the ideas, inspiration and listing challenges. It’s such a great way to sneak in a small dose of creative time each day and I really want to get my real-life friends to join me. This art journal kit will provide them with everything they need to get started.

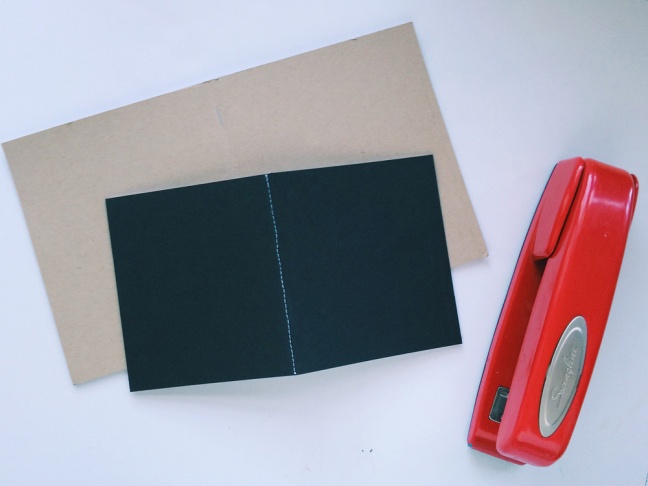
The first thing you’ll need to create is a journal of some sort. Pull out your paper trimmer and cut some sheets of copy paper down to size. You can staple them together or use a sewing machine to stitch the binding.

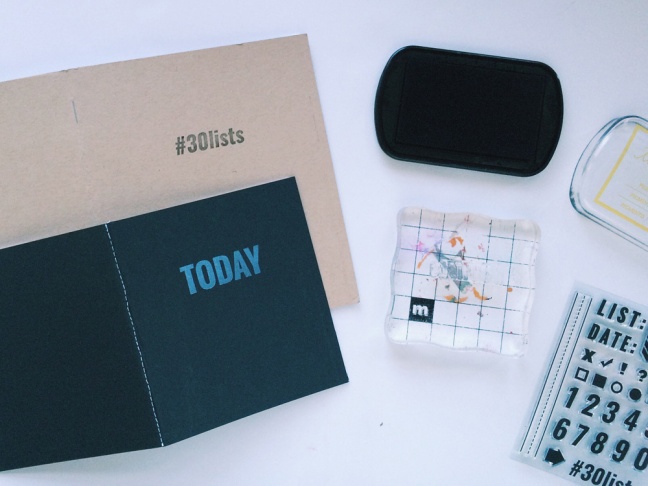
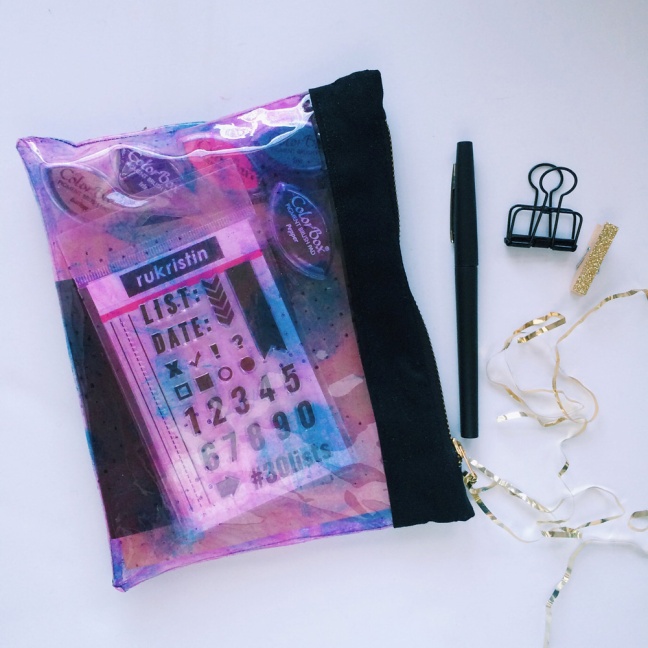
Then embellish the cover with a simple stamped image. I love the prompts in these stamp sets from the RUKristin shop, and then you can include in the kit as well. Useful and versatile!

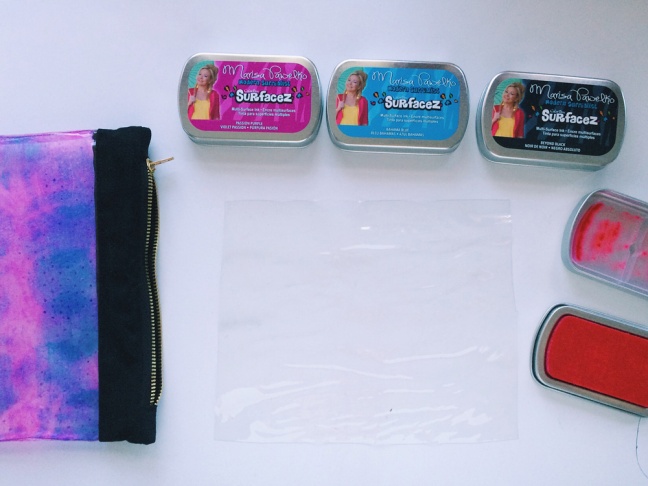
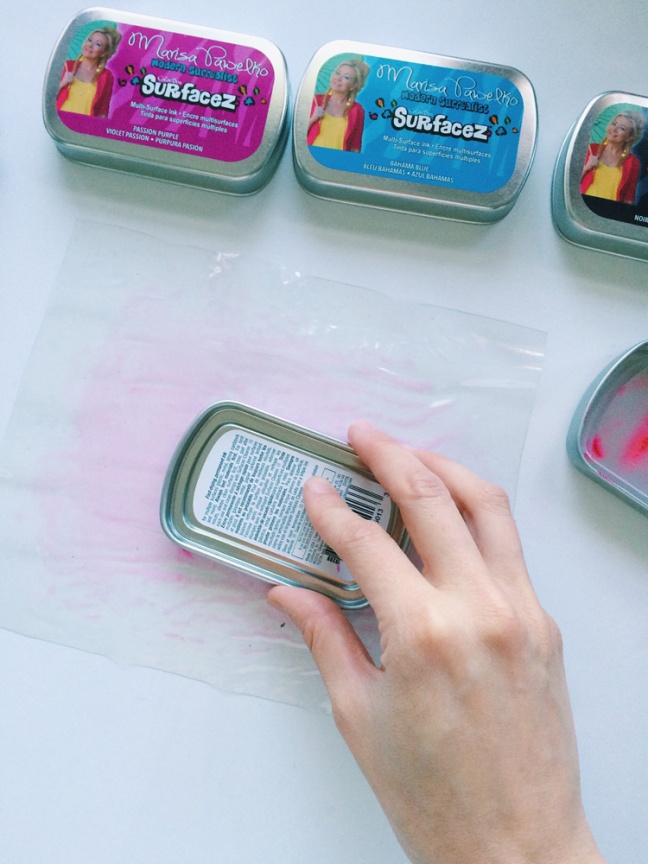
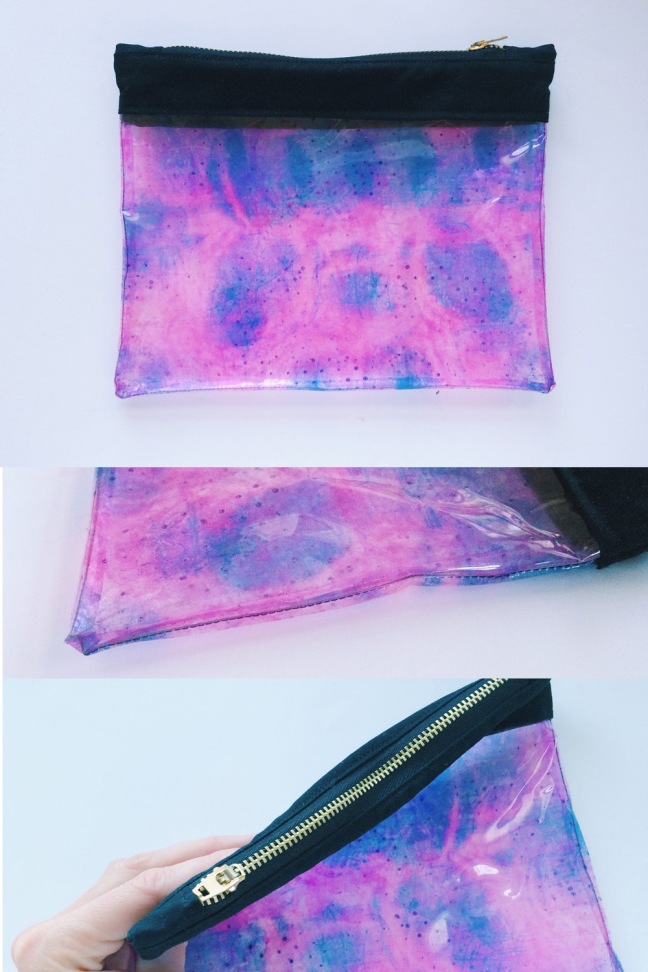
To create the bag, I pulled out some clear vinyl material and got to work with the new Marisa Pawelko Surfacez inks from Clearsnap. These inks are meant for non-porous surfaces that other types of ink will not dry on without embossing – think metal, plastic, vinyl, etc.

You can use a tool to apply the ink or apply the pad directly to your surface. I also applied the ink through a stencil and will the Rollagraph rolling stamp tool.

Art-Journal-Kit-Handmade-Holidays-2015-Sabrina-Alery (6)

When your vinyl is dry, stitch up a simple bag! There are so many great free patterns online – just do a Google search for “free pencil bag pattern” and choose one that suits your sewing ability.

Finally, you’ll need to tuck everything into your bag. Include some tools for coloring such as the cute Colorbox® Cat Eye inkpads, markers, pens or any other tool you think your friend may like to use. Now your gift is ready to go!

You can enter the giveaway below, then scroll down to continue on the hop.

a Rafflecopter giveaway
//widget-prime.rafflecopter.com/launch.js

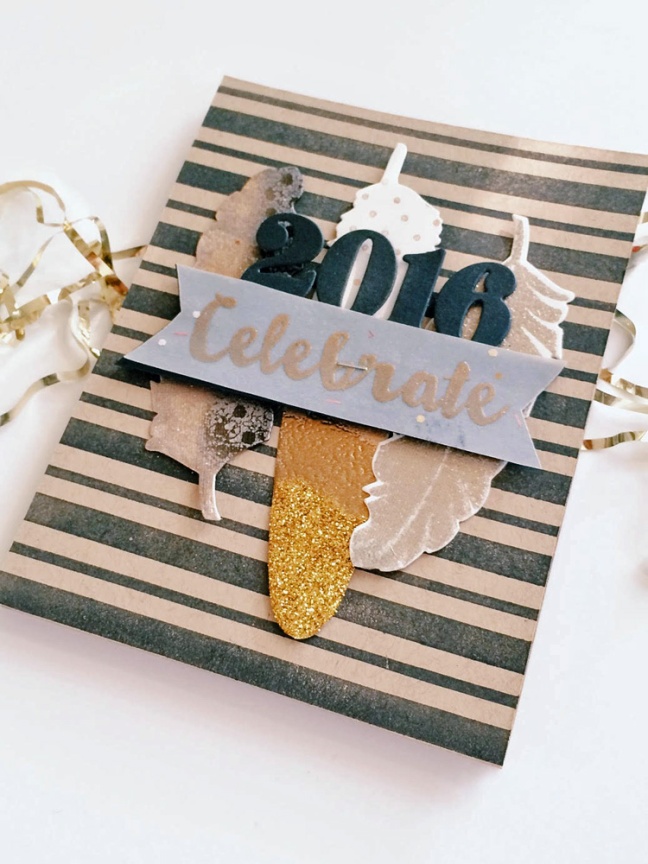
Celebrate 2016

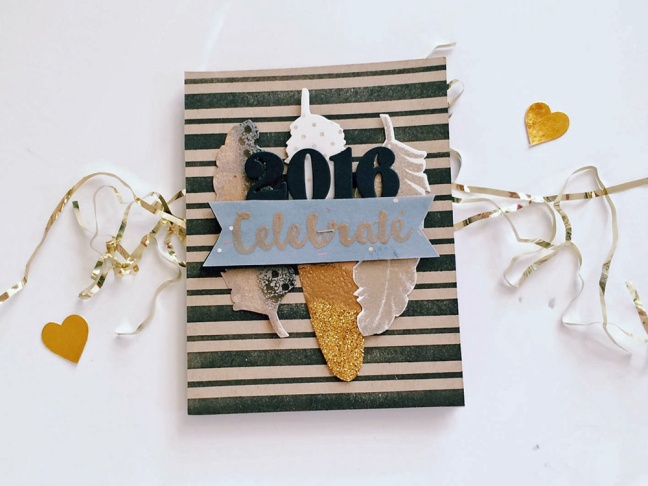
Let me start this post by saying, yes, I realize it is really early to be thinking about New Year’s Eve. But I was browsing on Pinterest and came across some great metallic color palettes and party decor that got me thinking about this far off holiday and just couldn’t resist!

So for today’s card for Waffle Flower Crafts, I offer you a little New Year’s card inspiration. It’s always a good time for a party, right?!

For this card, I pulled out a few favorite older sets – the Feather More stamp and die set, the Pattern Play stamp set and the Congrats set – plus some metallic pigment inks for embossing. Even though everything was pretty simply put together, the metallic makes it feel so luxe.

Wishing you a wonderful day!

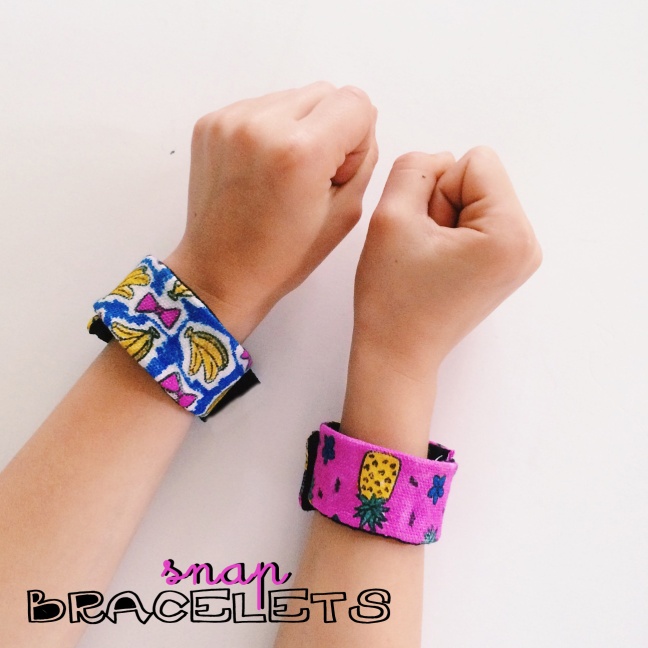
DIY Snap Bracelets

It’s our last week of summer break and although we are trying to stuff in as much summer as time allows, the girls and I found some time yesterday afternoon for creating a couple back to school accessories – snap bracelets! They are so easy to create and so much fun to wear!

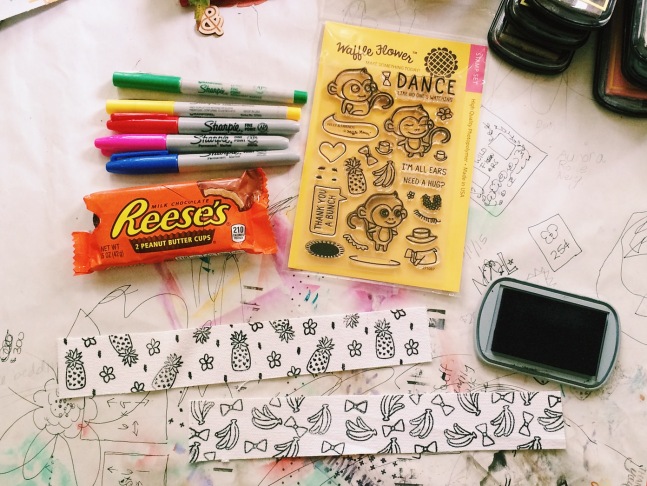
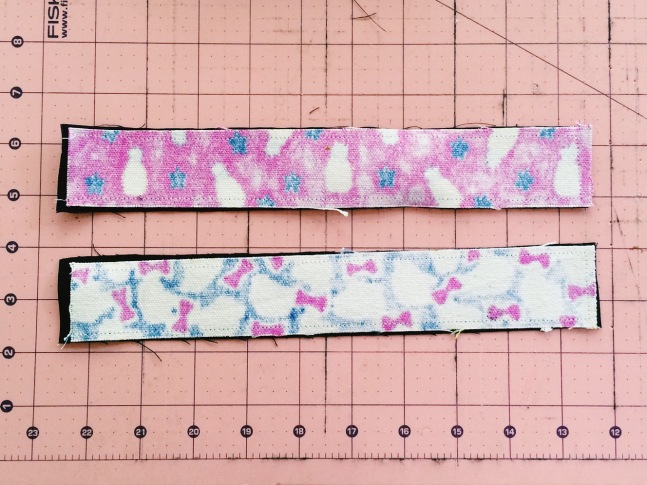
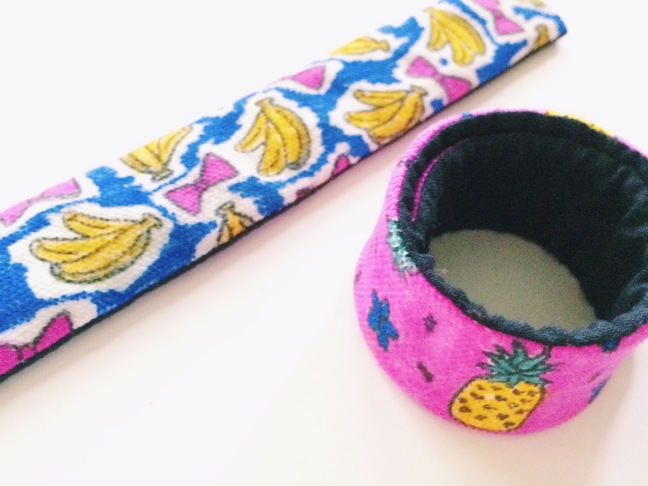
I pulled out the Willy & Friends stamp set from Waffle Flower Crafts along with a few other supplies – fabric ink, sharpie markers, treats and strips of canvas fabric cut to 1 1/2″ x 12″. Since the fabric is cut fairly small, we also stuck with the smaller images from this stamp set. I couldn’t wait to finally stamp those cute bananas and the pineapple.

Next we color. But before that, you’ll want to heat set the fabric ink with a hot iron to keep the color from bleeding when you do color. I hear there are a lot of great fabric markers out there, but sharpies worked just fine for us and are also permanent.

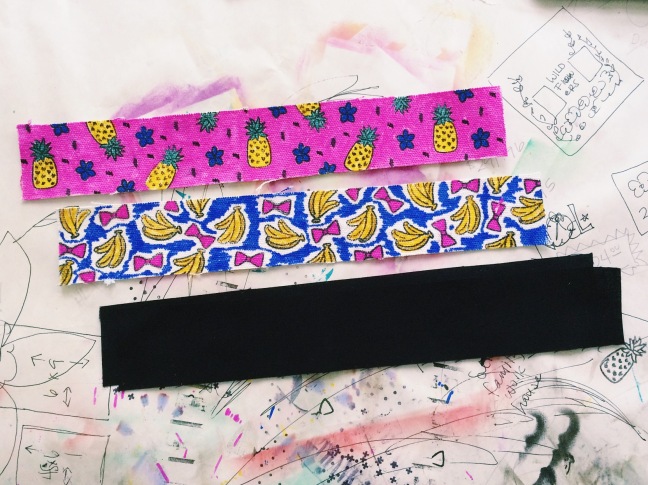
Coloring the background is a bit time consuming but I found it was easiest to draw a border around each image, coloring and then coming back to fill in the detailed areas.

When you are all finishing with the coloring, you’ll want to cut fabric strips for the back side in the same dimensions as the bracelet fronts.

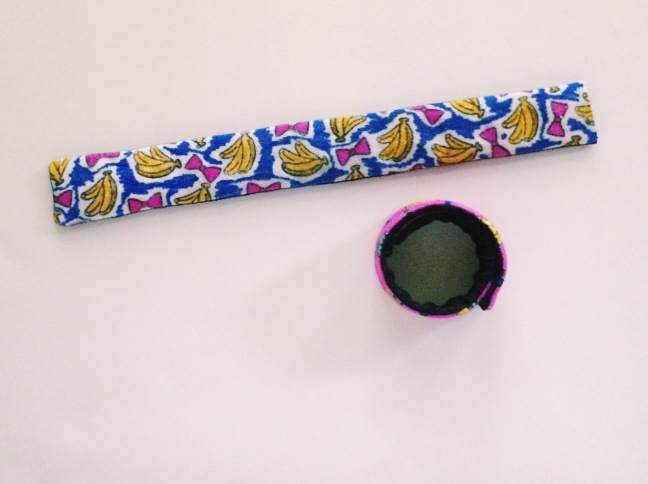
Face the fabric front with the back and stitch together. Clip the corners and then turn right side out. To make the snap bracelet part, slip in an old, boring snap bracelet or a length of metal from an old tape measure. I was so excited to discover that is actually what is inside snap bracelets! What a great re-purpose.

Once the tape is inserted, stitch the end close.

Slap, snap and enjoy!

6 Ways to Ombre // Mini Class

Ombre

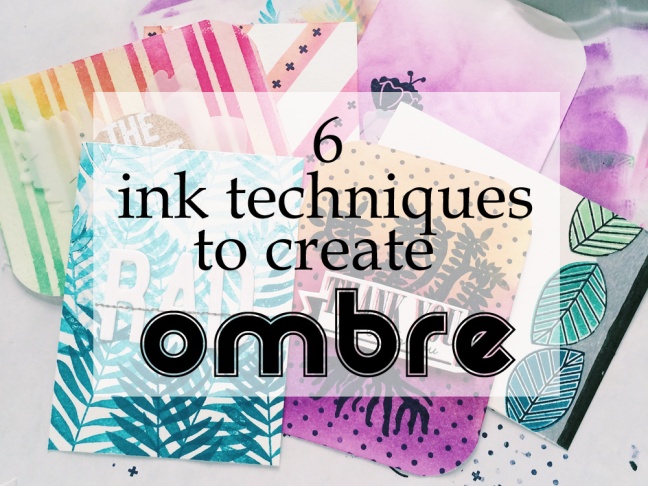
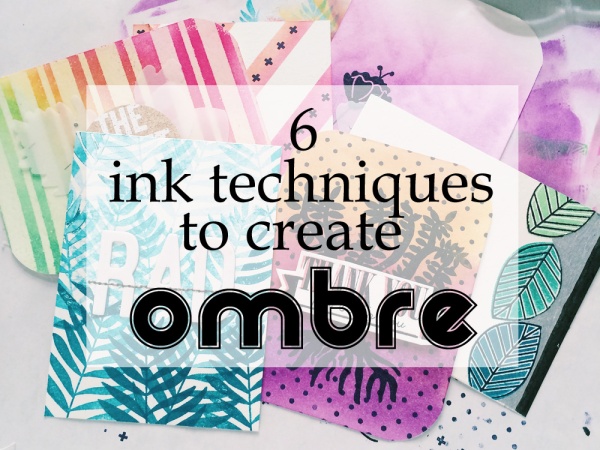
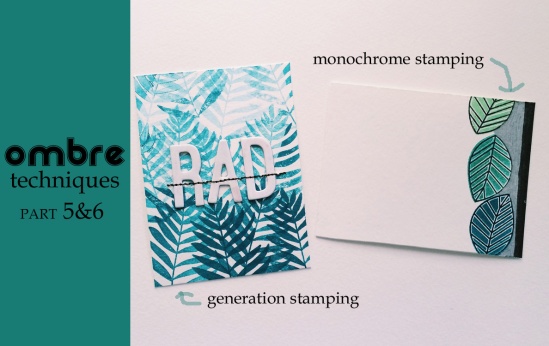
OmbreOmbre has been a trend in the papercrafting world (and beyond) for quite awhile now and I am so glad it is here to stay! I stumbled across this gorgeous card from Kalyn Kepner on the Silhouette blog and it inspired me to get started on a video right away. There are so many ways to do ombre, but below you will find six techniques that you can use today with supplies you likely have on hand.

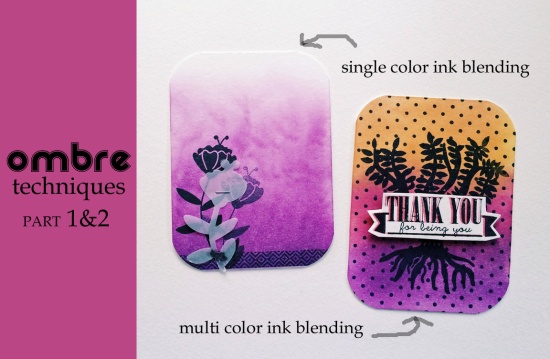
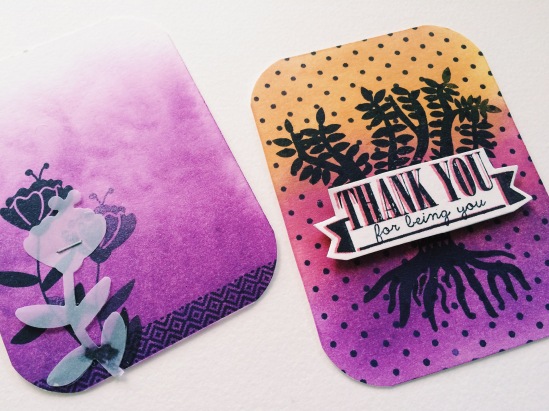
First up are single and multi color ink blending. Super easy to achieve with any ink medium. I used colors from the newly released Fall Blend Inkpad from Waffle Flower Crafts.

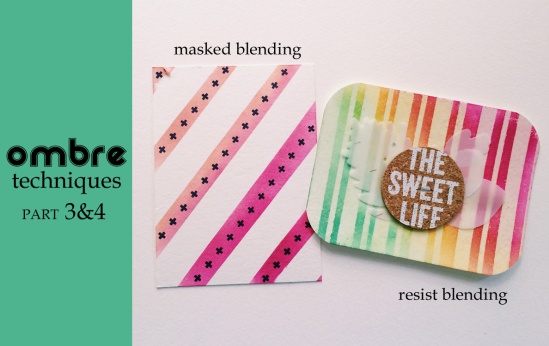
You can take the blending one step further by combining it with another technique – here I used masking and resist with the Summer Blend Inkpad from Waffleflower.


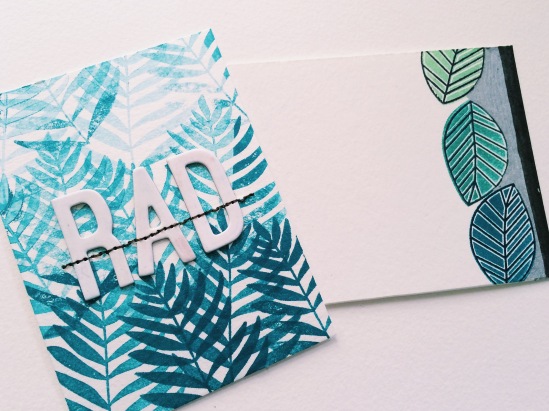
Processed with VSCOcam with c1 presetAnd finally, my favorites, we have gradient stamping (also called generation stamping, stamping-off) and stamping in a monochrome color palette. This time I used the new Winter Blend Inkpad. Loving all the color options in a cute compact case!

So easy you may not even need to check out the video, but just in case you still do just hit play below.

**Supplies used in the making of this project were sent to me by Waffle Flower Crafts.

Watercolor Hello

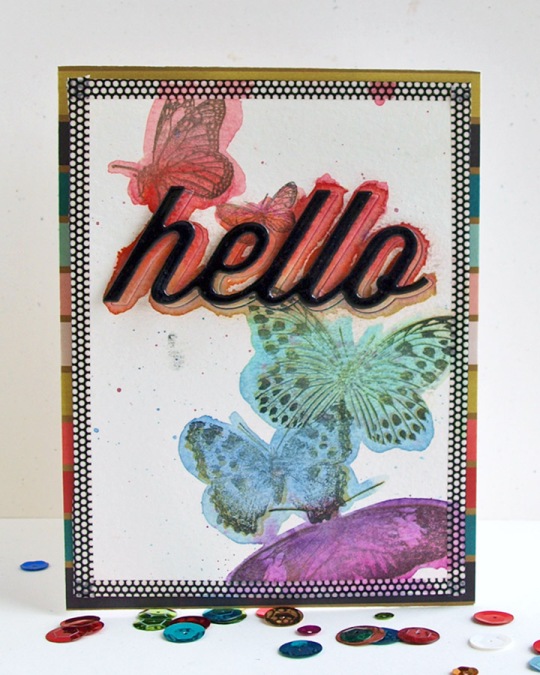
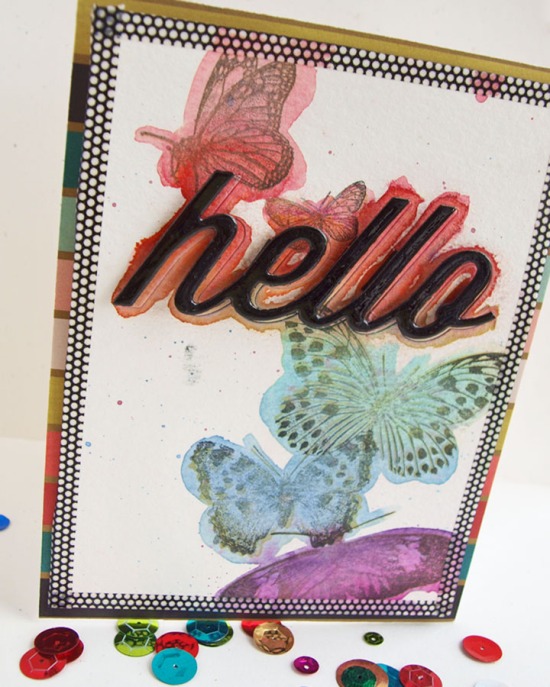
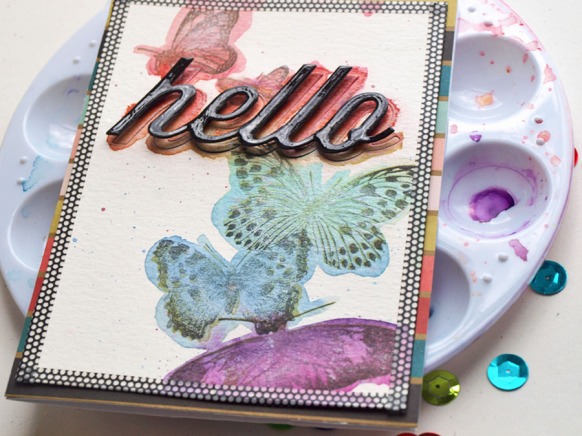
Hello, hello! One last card to share with you before I pack up the rest of my craft room and get down to the dirty work of deep cleaning and moving heavy boxes. This one is for the current Moxie Fab World challenge: Wonderful Words Challenge using word dies. This word die from Papertrey Ink is one of the few I own and since all the others are holiday related, hello it is!

My daughter and I were checking out some watercolor technique videos on YouTube the other weekend (Art Food Kitty had some great, informative ones that get to the point without all the extra chit chat you sometimes find on YouTube channels) and we sat down to create with our new found knowledge. Can’t believe I *almost* considered getting rid of this pretty butterfly stamp from Stampendous, but honestly, I’ve never found one I like better. And this one is 10 years old.

For the word die business, I debossed “hello” into the background to create an outline to paint around. Then wet with water and painted on the color with Colorbox Spritzers spray inks used in that tray above. The top “hello” was cut from black cardstock, given a coating of glossy accents and then adhered slightly offset so it would appear to be 3-D.

Really, I love how this turned out! It just makes me so happy 🙂

See you in a couple of weeks!


Joy Burst

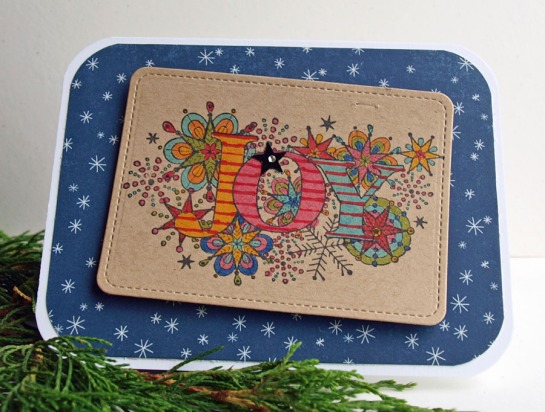
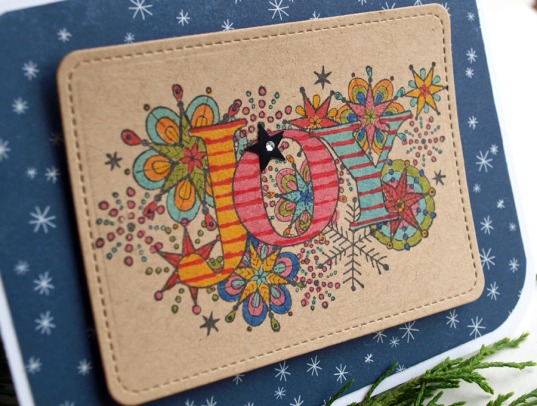
Hello and TGIF! I have been busy packing and cleaning this week – we are moving! – but snuck in a little crafty time to play along with the current A Blog Named Hero Challenge. Coloring is so not my thing – I am far too impatient and can never stay in the lines – but gave it a shot anyhow.

I had yet to use this pretty Joy Burst stamp that has been collecting dust since last November and with the bright colors, you almost can’t tell it’s a holiday stamp. I colored the image with Faber-Castell Stamper’s Big Brush Markers and die cut it and then was just stuck on what else to do. So here it is slapped onto the front. Done and done.

Wishing you a wonderful weekend!


Inlaid Circle Thank You

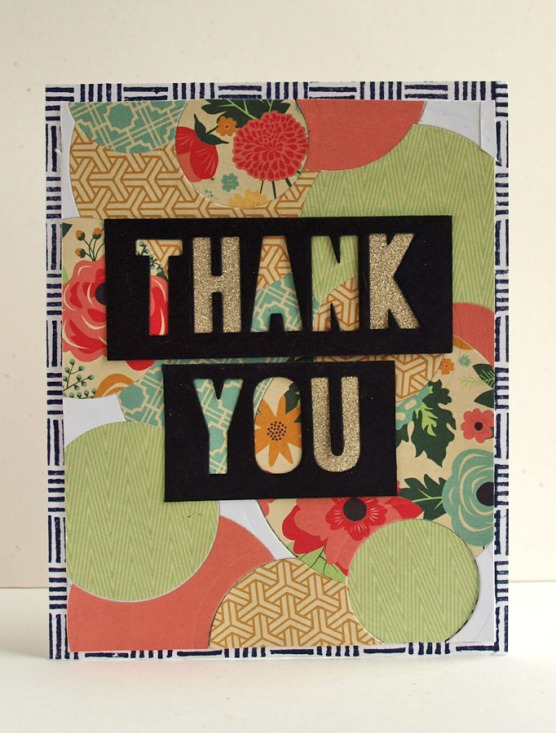
Good morning! If you are here looking for the Clearsnap blog hop, please jump over to this post to check out all the new releases. If not, then I just have this fun card to share with you. It was created for the last Paper Crafts call but didn’t make it through. That’s okay because I still kind of love it!

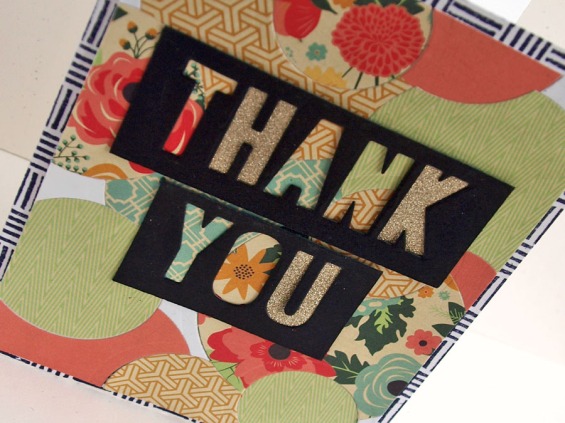
The background was created by layering and die cutting several sizes of circles using the new Fancy Pants Burlap & Bouquets line which is so pretty. Love those Rifle Paper Co inspired flower designs that I am seeing pop up everywhere!!

Inlaid die cuts seem kind of intimidating (at least to me), but really it’s not and is just a little time consuming. Kind of like fitting together puzzle pieces. So try it! It helped me to keep adding adhesive sheeting to the back to keep everything in place.

Also, can’t seem to get enough of this Lawn Fawn alpha die! It’s gotten lots of mileage lately on this card and this card  and several more cards that haven’t yet been shared.

I’d like to also add this to the current Virginia’s View Challenge #5.

Have a great day!

Washington Vacation Mini Album

We’re so excited to share our brand new SUMMER release from Clearsnap with you! Gorgeous new Art Screens, more Creative Card designs, 6 new colors of ColorBox Spritzers, and 9 new Souvenir Stamps have been added to our lineup of products for your crafting fun. Our creative team has been busy behind closed doors creating inspiring projects with these new products, from cards to summer journals and more. Hop along with us today to check out these fabulous summer projects and be inspired.

Be sure to visit and comment on each blog in the hop. Then, use the widget on the Clearsnap blog to enter to win 2 of our new Art Screens and 2 of our new ColorBox Spritzers!

Clearsnap 
Sabrina Alery —> you are here
Steph Ackerman
Tami Sanders
Jennifer Priest 
Suzanne Austin 
Vivian Keh
Meihsia Liu

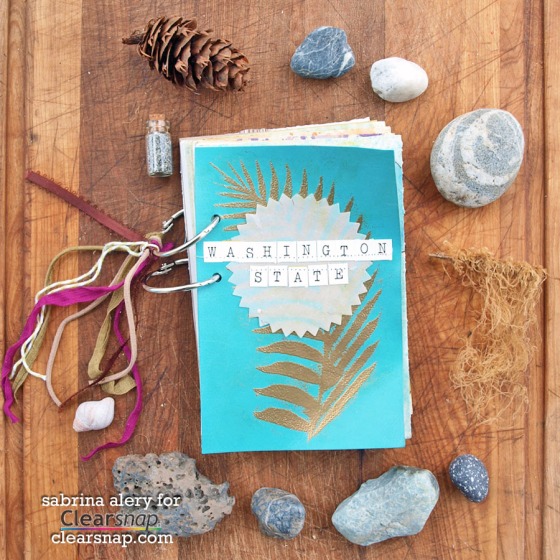
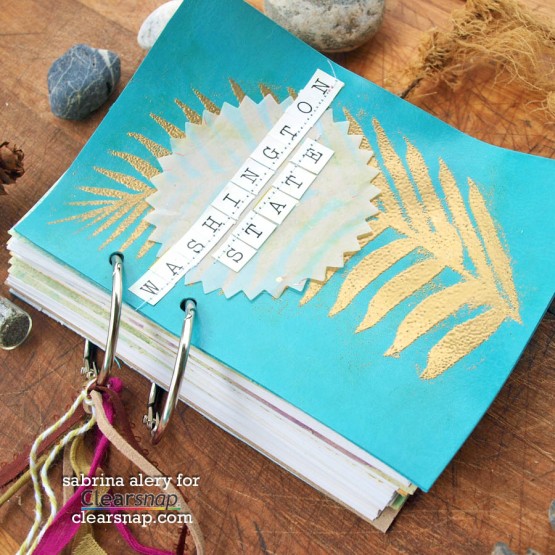
Hello! I have a mini album to share with you today using photos from a vacation our family took to northwestern Washington State in 2008. The inside is really simple and basically just uses 4″ x 6″ photos with dividers for each day we spent there. To be honest, I would most likely not go back to document a trip so old (and could likely not remember many details – thanks mom brain!) but this version made it very simple.

The cover uses an upcycled leather cover of a old datebook and was embossed with the gorgeous new Tropical stencil in gold powder. The gold against the teal leather feels so luxe!

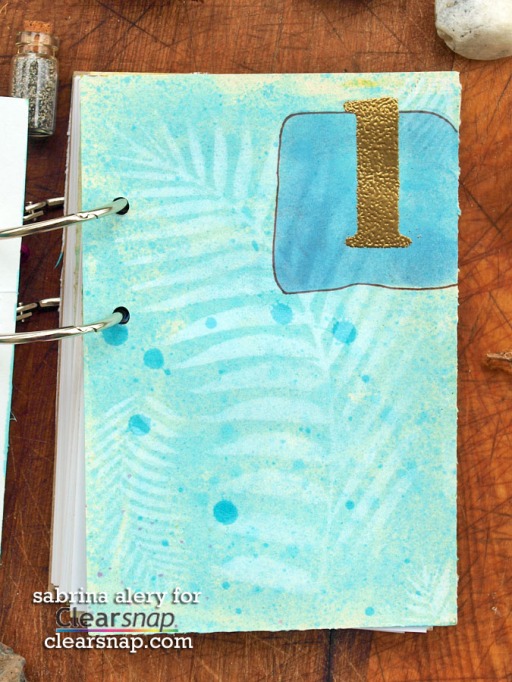
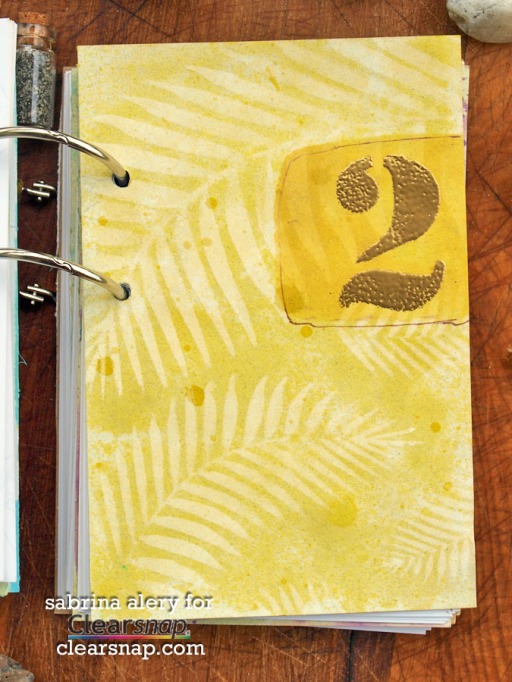
There are 6 dividers inside and each one blocks off the photos we took on each day there. Fun fact: the week we visited, the weather was so sunny and beautiful and very unlike typical Washington climate. I am so happy luck worked out for us that way!

Each page was created by using the Colorbox® Spritzers spray ink to watercolor and leave speckles in ink for sort of an organic look. Spray inks are perfect for watercoloring because the are pretty much mixed and ready to go. And the ones I used here are archival quality so you won’t have to worry about them harming your photos.
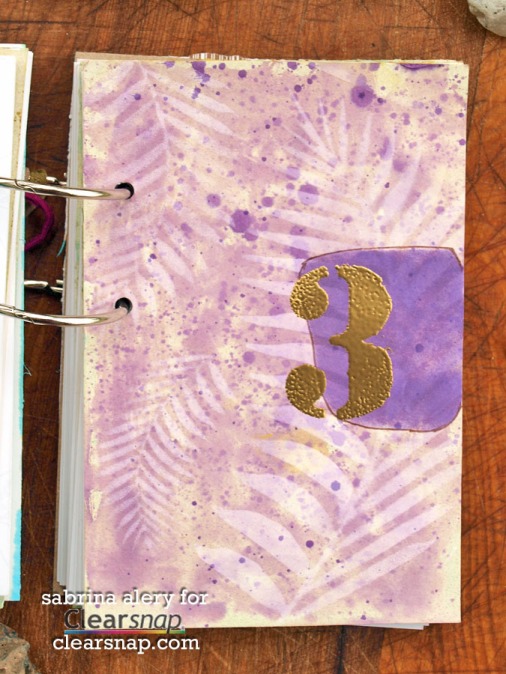
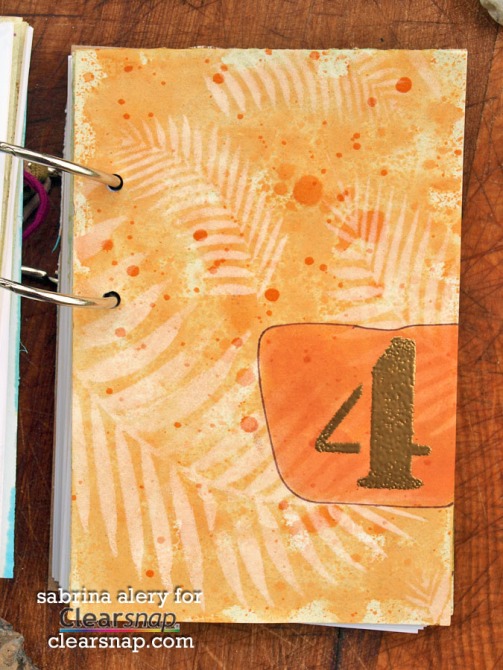
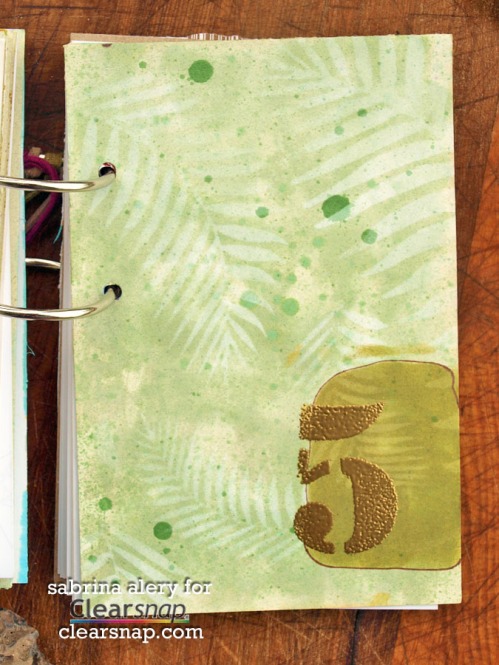
Over the watercolored background I layered the Tropical fern stencil with white pigment ink and then created a number block with more pigment ink and the Stonework + Numeric stencils.

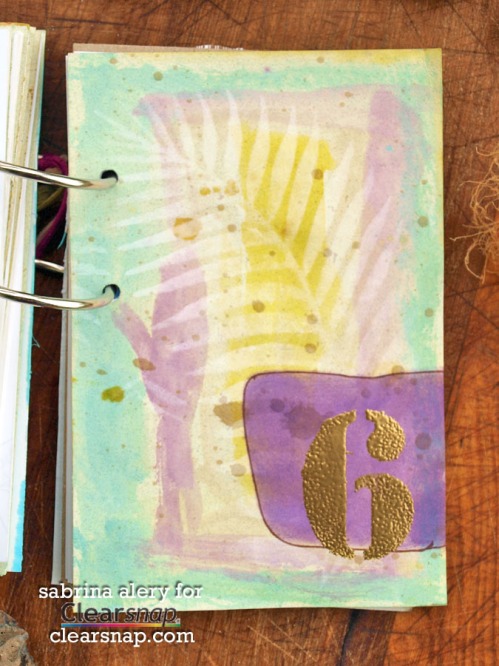
Each page reminds me of batik fabric and the way the first layer of color peeks through when the wax design is removed. Although I just used one color for a more monotone look.

It’s just sort of tropical and casual, sort of like the location itself. There is a technique video below if you would like to watch the process to try out for yourself.

It’s really easy enough that even the kids can help! The background of this last page was created by my six year old daughter. It may even be my favorite 🙂

Here is a video tutorial of the process so you can join in too.

Thanks for dropping in today! Hop over to Steph’s blog to see the gorgeous card she’s created.

Supplies:
Colorbox® Spritzers Dye Ink Spray – Pumpkin Pie, Lemon Drop, Frosted Plum, Mermaid, Grasshopper, Putty
Colorbox® Art Screens – Numeric, Stonework, Tropical
Colorbox® Pigment Ink – Frost White, Farmhouse 6-Color inkpad
Art Daubers
Embossing Powder – Gold


Mountain Welcome Baby

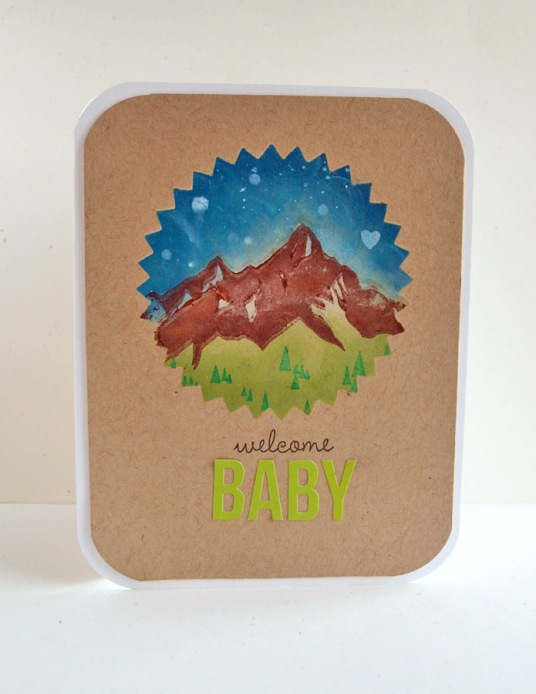
Here’s another quick card to share with you today – a little masked mountain scene to welcome home a sweet baby boy. I am pretty sure I have not yet used this Alpine Christmas stamp set from Waltzingmouse for any holiday related cards. Eeep! Love that pretty mountain and the trees!

Linking to the following challenge:
Waltzingmouse Fanatics – Anything Goes #21

Have a great 4th!

You Are Loved

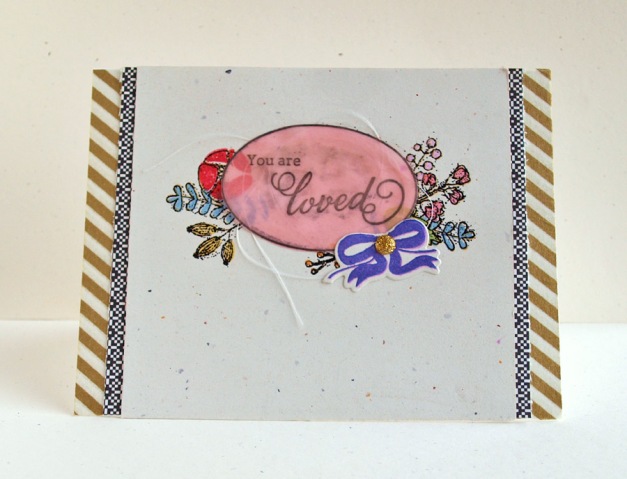
Hey there! It’s been a bit – I’ve been busy sewing but wanted to stop in to share something today. And that something is a quick card using the Loved stamp set from Waffle Flower Crafts. This set is so pretty, I don’t even have to make an effort and good thing too, because my brain is just plain tired.

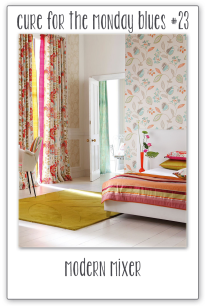
Linking up with Cure For the Monday Blues challenge #23. I was inspired by the long lines of the curtains and the pretty floral wallpaper.

Enjoy your day!